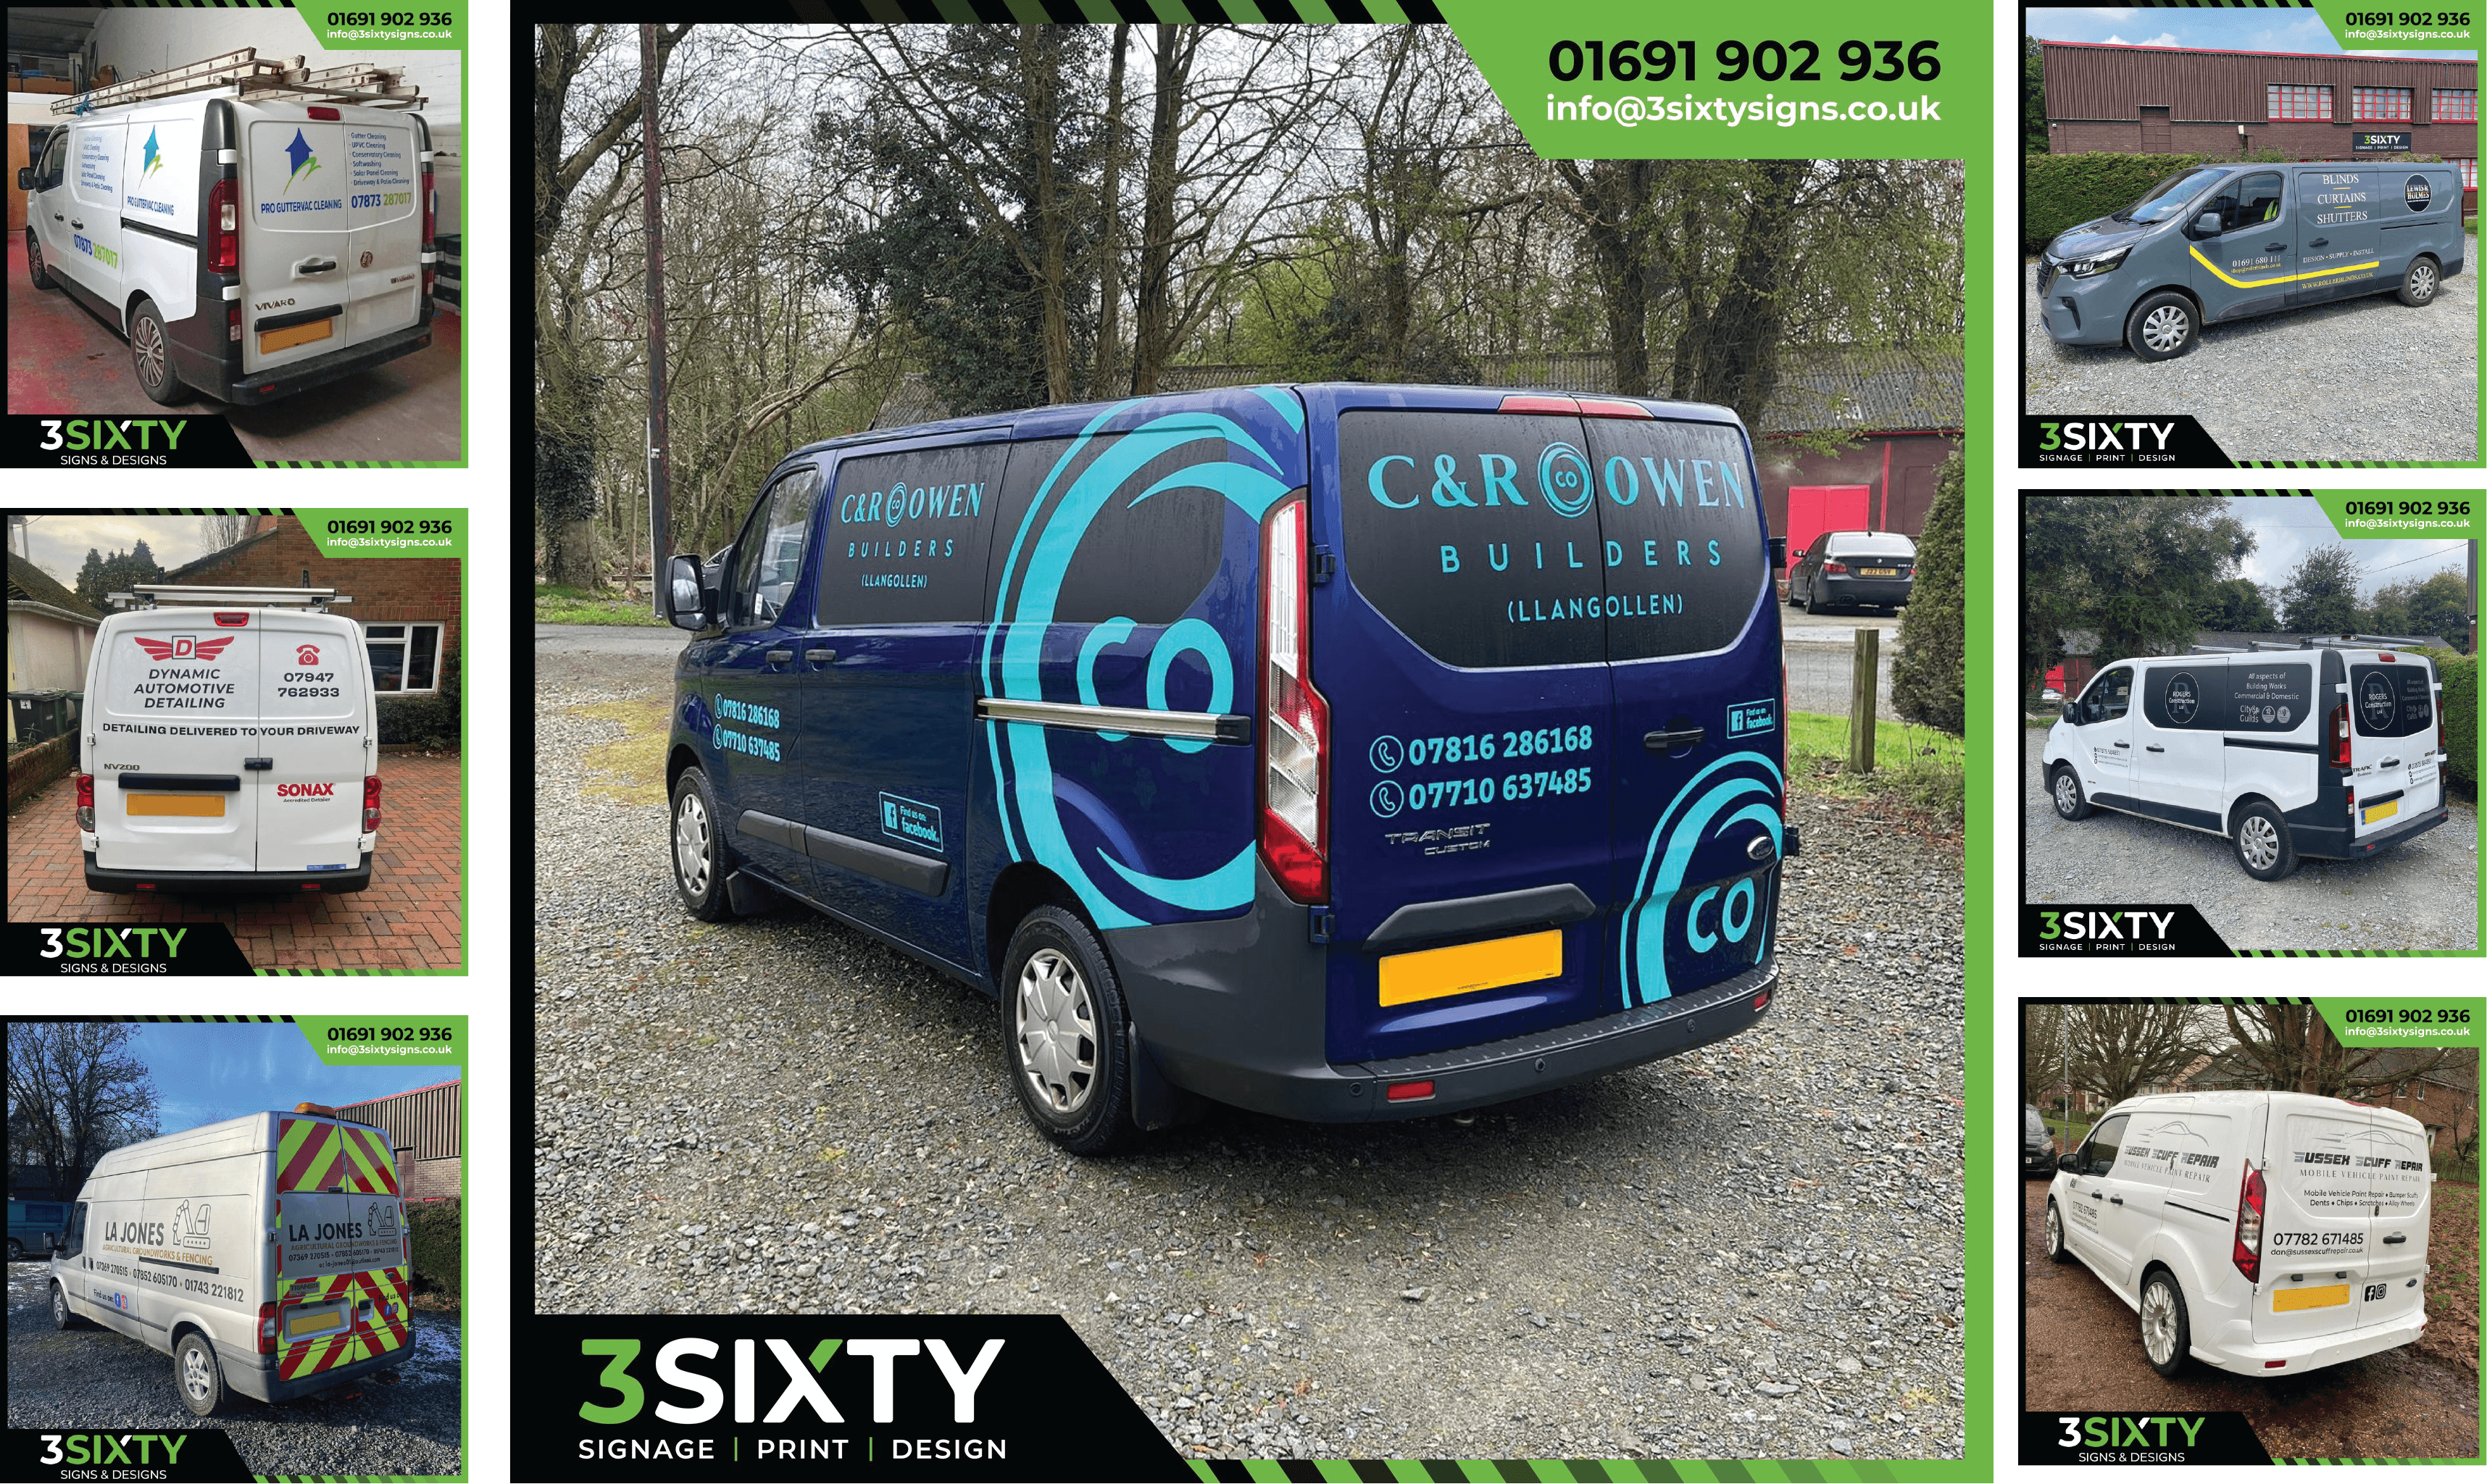
DIY Vehicle Graphic Kits
Save time and money with our
easy to fit DIY Vehicle Graphic Kits.
- Perfect Fit
- Easy to apply
- Free Design Included

Upgraded Fitting Kit
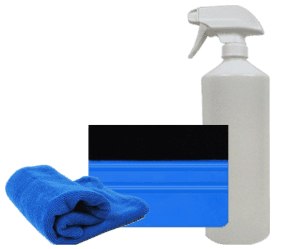
Each order is supplied with a squeegee tool as standard. Additionally, customers may choose to upgrade their fitting kit to include a Microfibre Cloth and a 1L Bottle of Application Fluid. These items will prove useful during the installation process.

Choose your design service
Depending on your available budget, you may opt for either simple vinyl cut lettering or more visually appealing printed graphics. If you are uncertain about what you require please contact us and we will be happy to recommend the best solution for you

Cut Vinyl Lettering
These graphics while simple, are remarkably effective and are made from solid coloured vinyl. They are designed to fit the exact shape of your vehicle

Printed Graphics
Through digital printing, photographs can be produced in tailored colours. This alternative allows for the addition of logos, social media icons, and images in a full spectrum of colour

3/5 Year Exterior Manufacturers Warranty

FREE Design Service with client approval

Next Day Delivery Service upon dispatch

UK’s Leading Material Manufacturers
Suppliers we use
We only use quality products & materials from the leading manufacturers in the UK

The process of installing your graphics is very easy
Depending on your available budget, you may opt for either simple vinyl cut lettering or more visually appealing printed graphics. If you are uncertain about what you require please contact us and we will be happy to recommend the best solution for you
-
 Cleaning
Using a microfibre cloth, clean the substrate thoroughly and follow with rubbing alcohol. (Rubbing alcohol helps remove any grease) Make sure you clean the side you will be completing the installation.
-
 Measure
-
 Peel Back
-
 Apply
Apply
-
 Stick
Stick
-
 Reveal

Savings
Why incur costs for professional graphic installation when you have the option to do it yourself? Our DIY kits enable you to bypass the trouble of seeking assistance from a local signwriter.

Easy to Apply
Each of our DIY Graphics Kits are accompanied by a complimentary plastic squeegee and a print out of our fitting instructions allowing for a easy installation

High Quality Vinyl
We supply you with professional grade vehicle vinyl. We only use the UK’s leading vinyl manufacturers. Your graphics will fit your car, van or truck perfectly. Before your kit is sent we’ll show you how it will look on your vehicle and also double check sizing
Is waiting for quotes something you prefer to avoid? Get in touch with us now for a instant price.

Over 130+ 5 Star google reviews
